“We do not inherit the earth from our ancestors, we borrow it from our children.”
Such an important reminder, on Earth Day and every day. And let’s roll with this idea of borrowing, because you just might want to “borrow” this Earth Day activity! It combines art and writing, and will get your kiddos thinking of ways we can take care of our Earth.
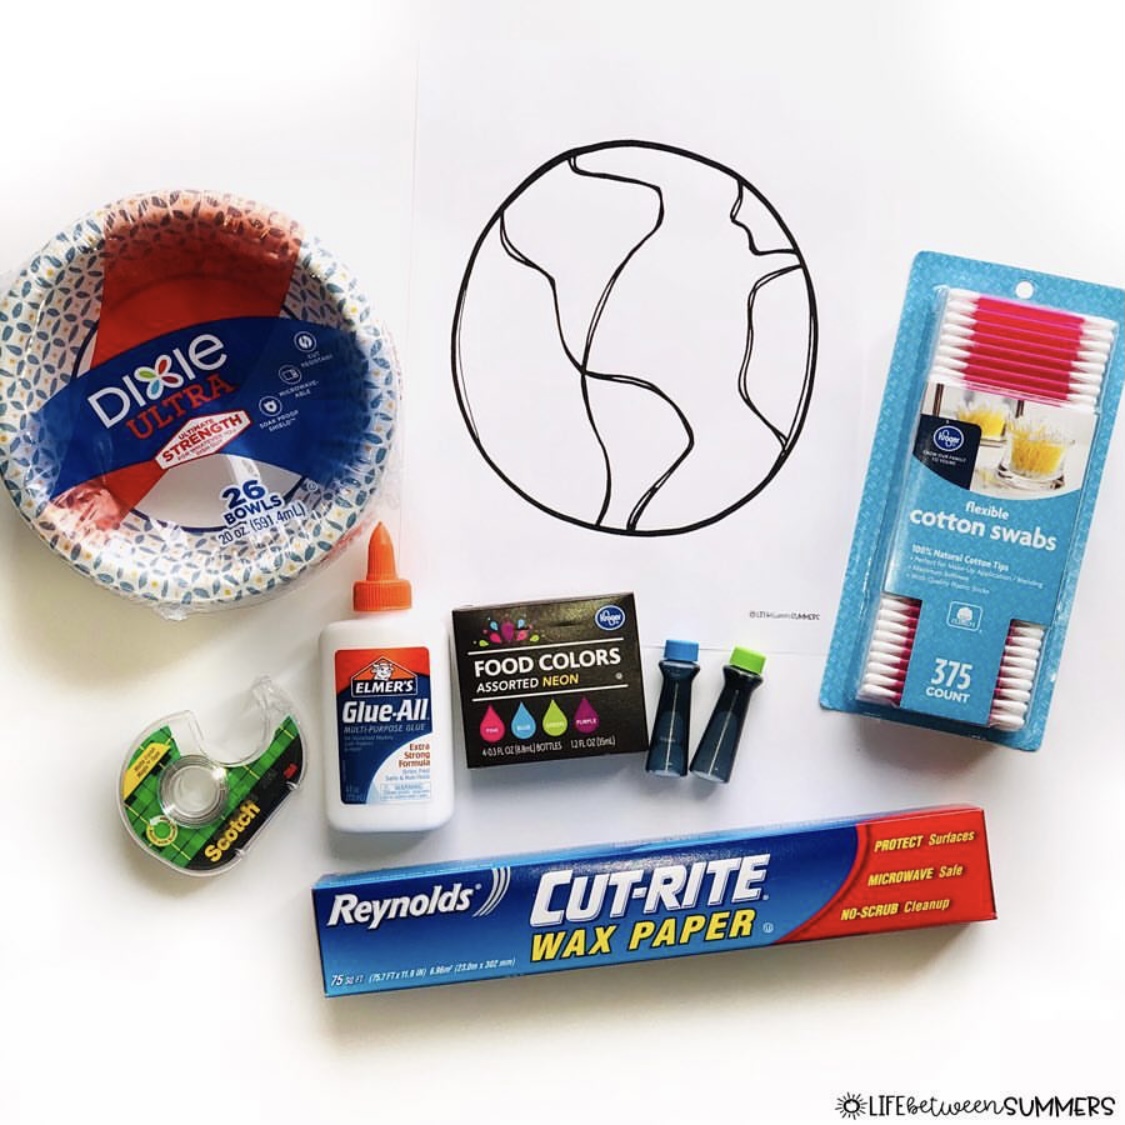
Here is what you’ll need. If you want to make it as low-prep as possible, this same activity could be adapted by using ONLY construction paper, the Earth template, scissors, glue stick, and coloring or painting materials.
Materials:
- Construction paper (*You can do different shades of skin colors, or white paper for students to color on themselves with crayon/colored pencil/oil pastel. You’ll also need construction paper to back the artwork and writing on)
- Scissors
- Tape
- Glue Stick
- Bottles of liquid glue
- Wax paper
- Green & blue food coloring
- Paper bowls
- Q-tips
- Earth template
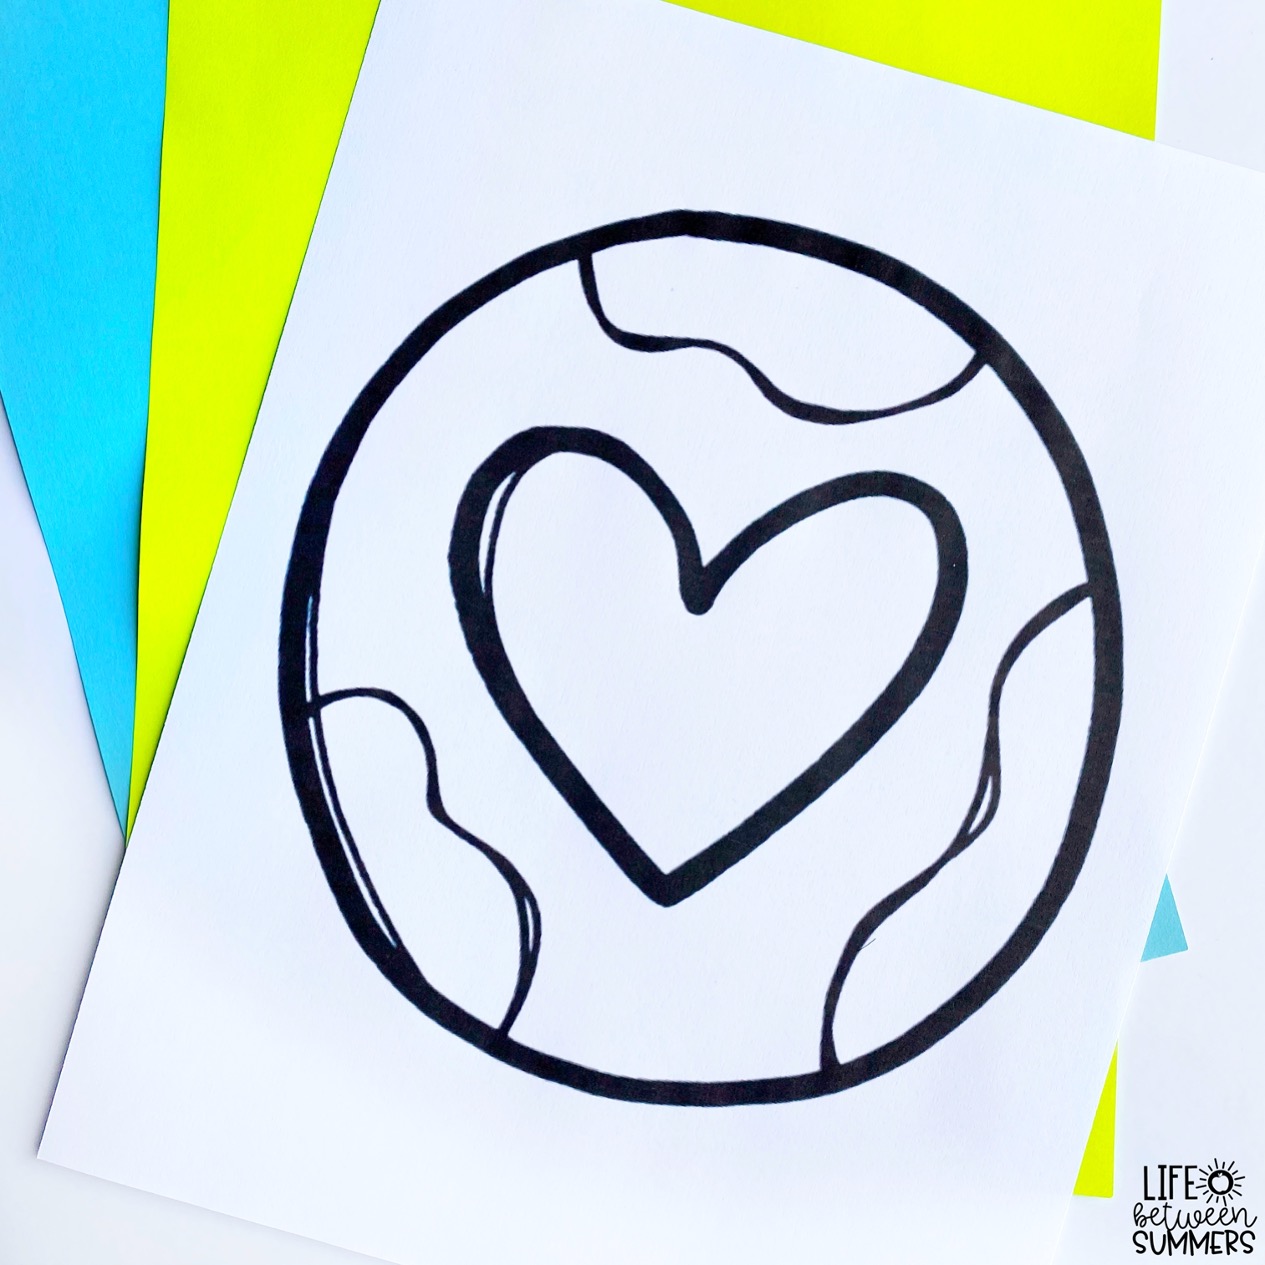
My Earth Day writing craft resource includes an additional template with a heart, so you could choose which one you prefer.
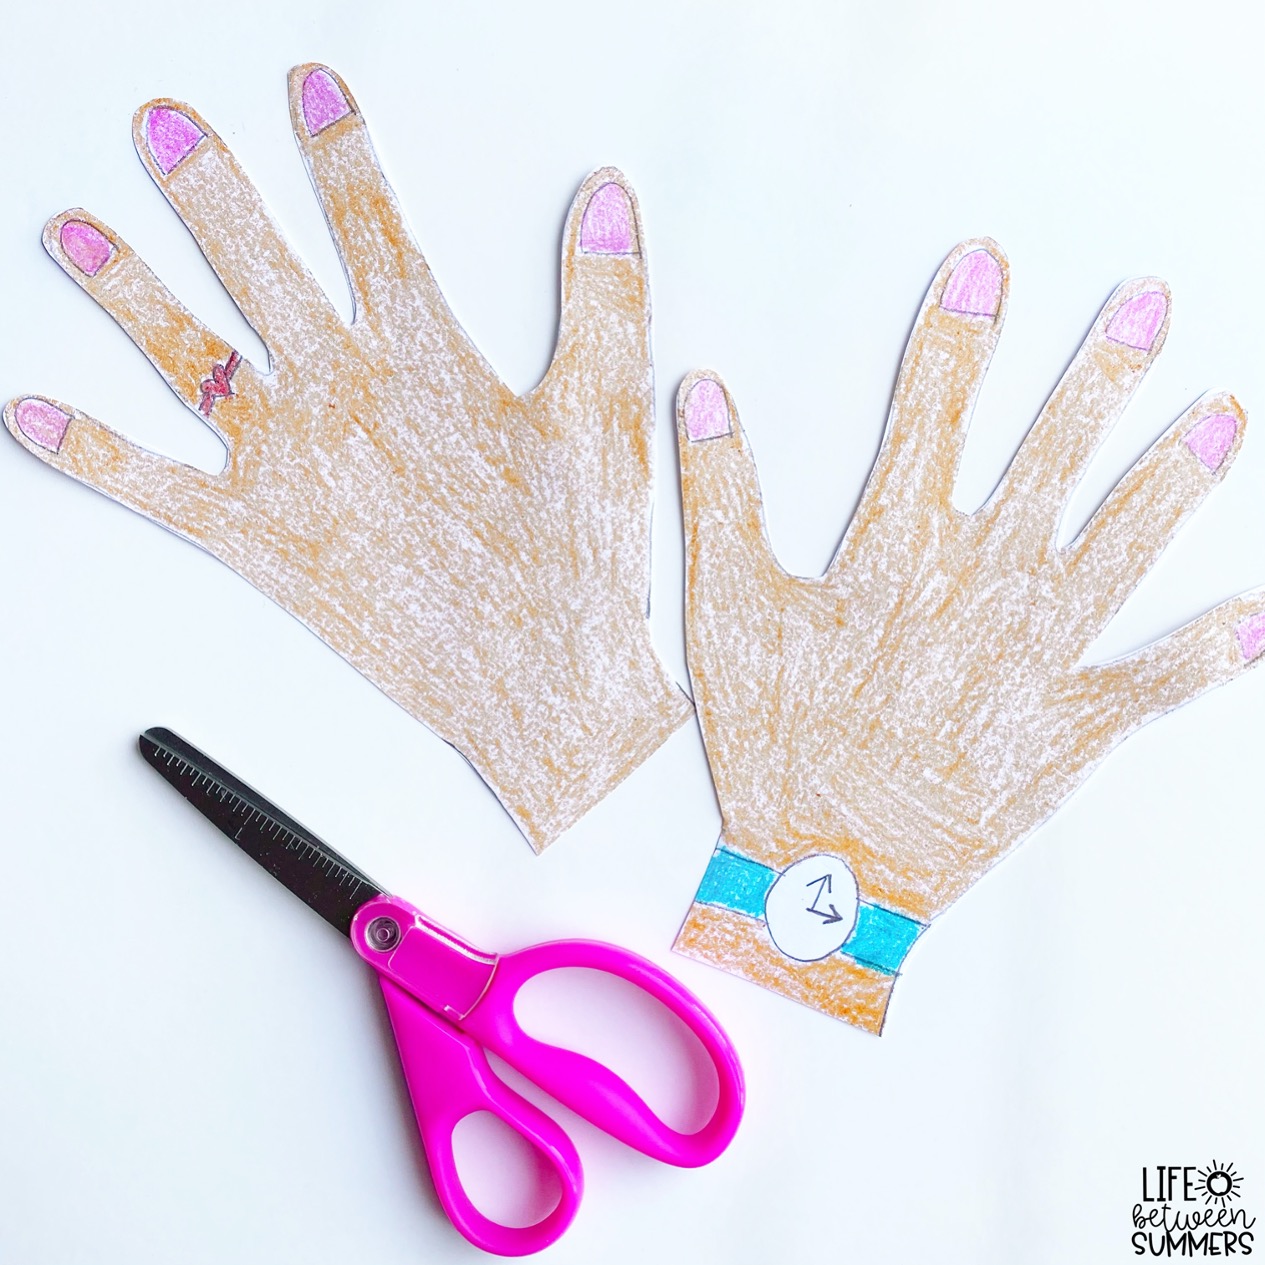
First, pass out the construction paper. As mentioned above, you can provide different shades of skin color construction paper, or use white paper for students to color on themselves. Have students trace their hands onto the construction paper and cut them out. Encourage them to add personalized details like watches, bracelets, rings, nails, nail polish, etc. to make it look like their own hands.
If you’re going the low prep route, have them color or paint the earth. Once done/dry, cut out and glue onto a separate piece of construction paper. Glue the cutout hands so that they look like they are holding/cradling the earth.
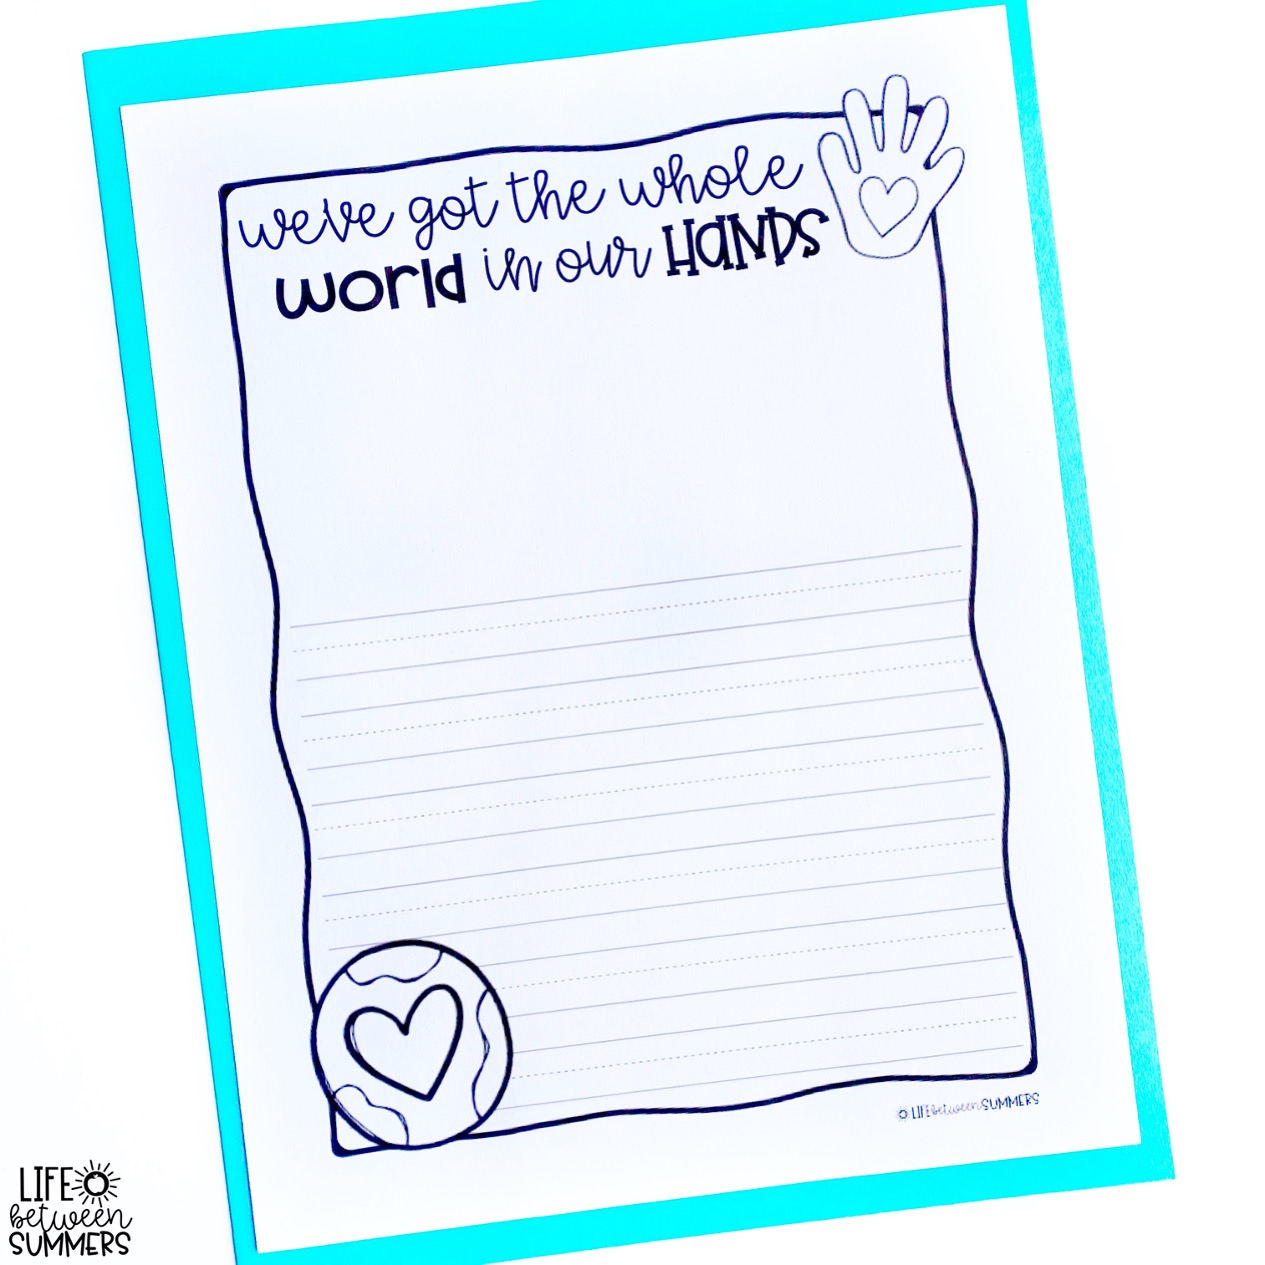
Using the writing paper included with my Earth templates, have them brainstorm and write about what they will promise to do to protect the earth and help the planet. The resource comes with two options for writing paper.
Option 1: You can use a separate whole sheet of writing paper like this one (it’s provided in both portrait and landscape), and display their writing next to their artwork on a bulletin board.
Option 2: Use the thin strip of landscape writing paper provided with the resource and have them glue it to the bottom of the paper right under their artwork.

If you’re feeling a little more artsy and crafty, here is another way to do it instead of having kids color/paint their Earth. It will give the Earth a more unique look and texture to it (as pictured right below), and the kids really enjoy this art technique!
Give each student a copy of the Earth template with a sheet of wax paper on top of it (make sure the wax paper is covering the entire shape of the Earth). Tape the regular paper and the wax paper together so that they stay in place.

Then comes the kids’ FAVORITE part! Pour some liquid glue into a paper bowl. You don’t need a ton, but enough to at least cover the bottom of the bowl. Add a couple drops of blue food coloring into the glue, and use a Q-tip to stir/mix in the food coloring (students love to do the stirring themselves).
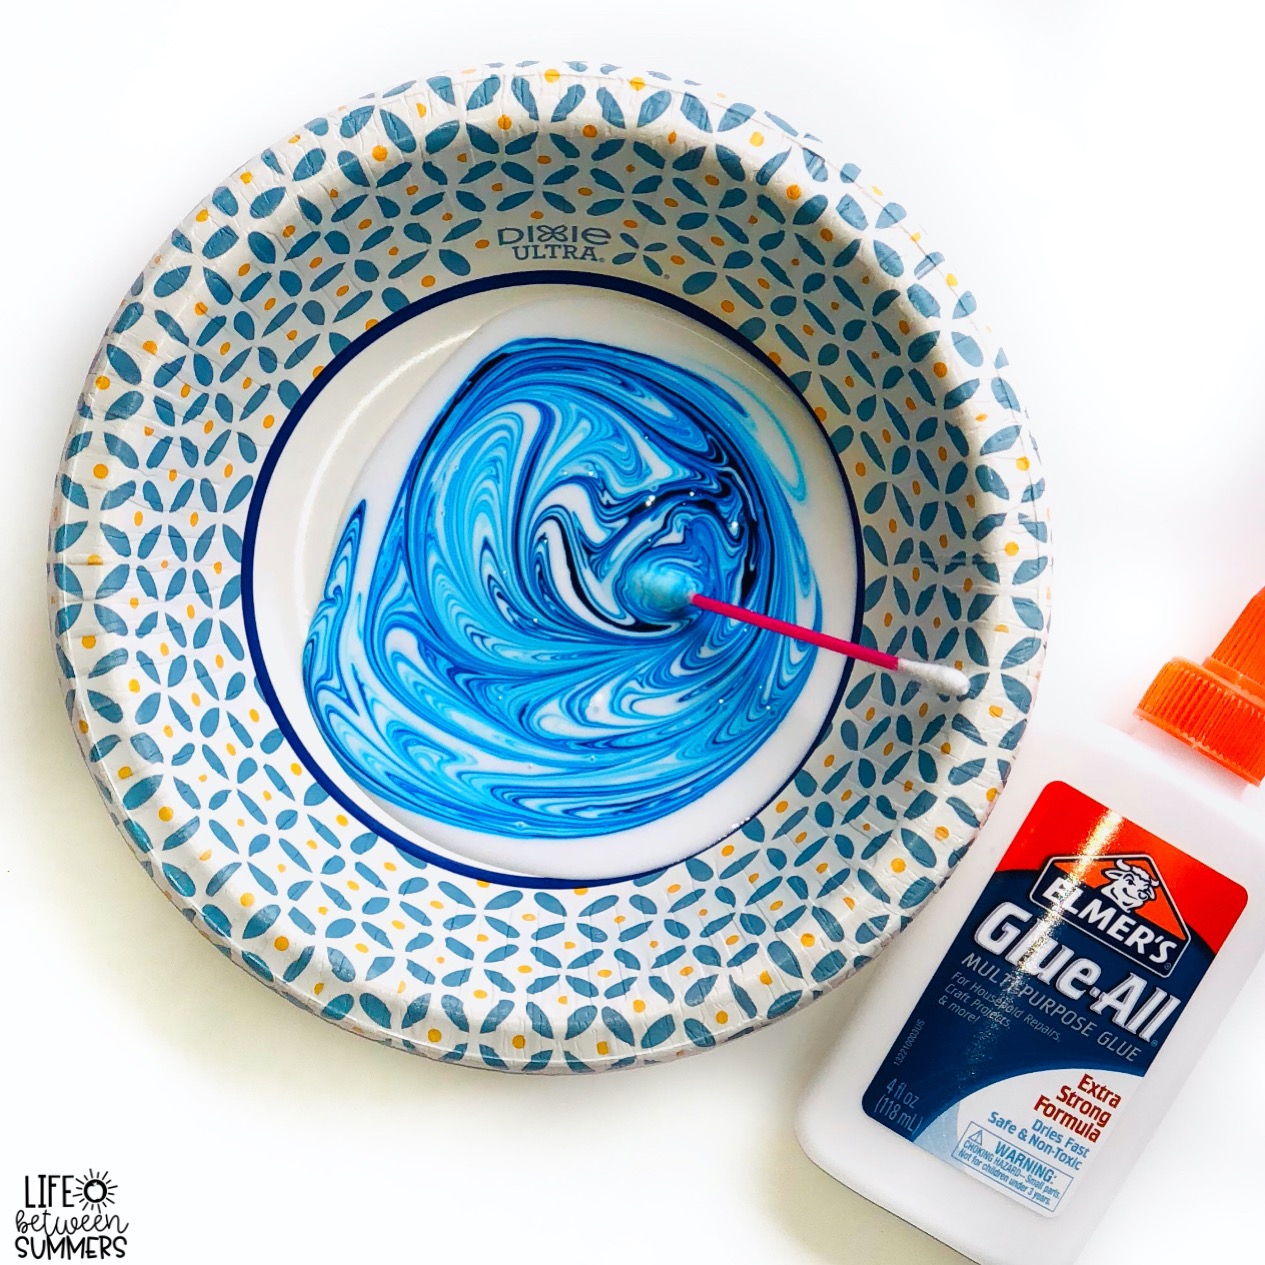
Keep stirring until the glue has turned completely blue. After that, repeat in a separate bowl with the green food coloring.
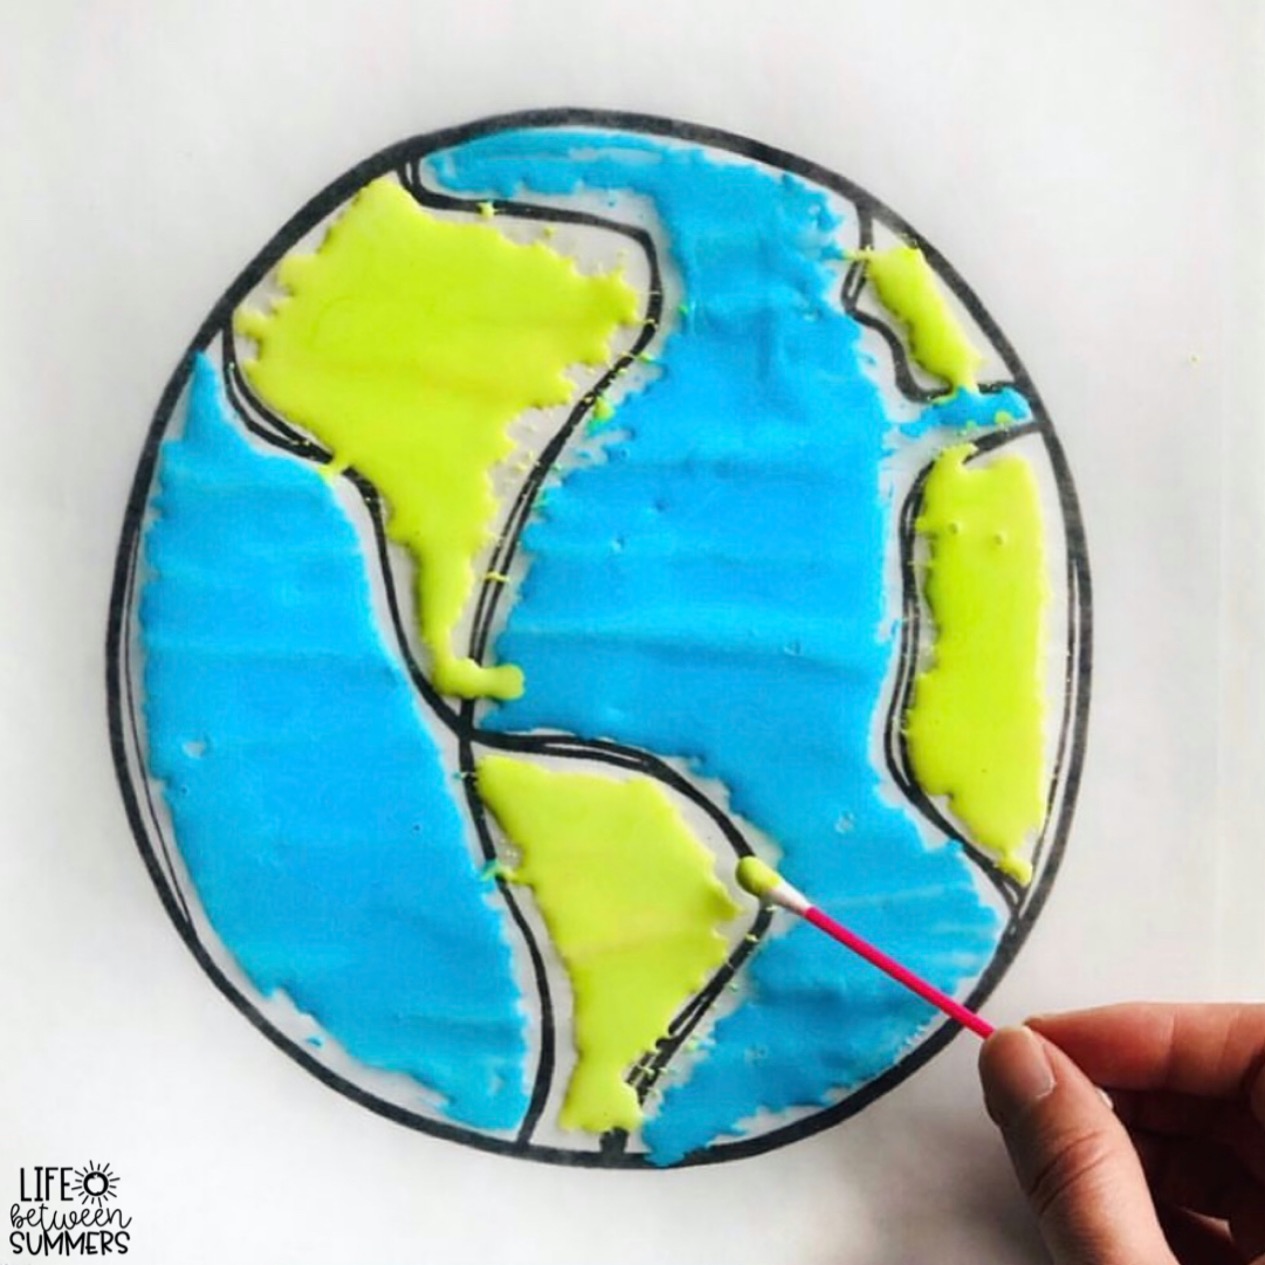
Once both colors are all good and mixed in, students use the Q-tip like a paint brush to paint the wax paper. Using the Earth template underneath as a guide, they use the green glue to paint the land, and the blue glue to paint the water.
*Tip: Have several extra Q-tips on hand, because after being used as a paint brush they tend to get pretty droopy and need to be switched out for a new Q-tip.

Let the paintings on the wax paper dry. I usually just leave them overnight. The following day, have students cut out the Earth (while the wax paper and template are still taped together, so they can use the template as a guide to help them cut). Once cut out, separate the wax paper from the paper template and set the wax earth aside.
*Tip: Use a pencil to write their name or student number on the back of the wax paper earth. This way, if it somehow gets separated from their paper (falls off, etc.) you will know who it belongs to.
The paper template is no longer needed after that. You can have students throw it away (i.e. recycle it…this is for Earth Day after all), but every year without fail, the kids ask if they can keep the paper earth. Teachers make dreams come true 😉 so I tell them they can if they want to.
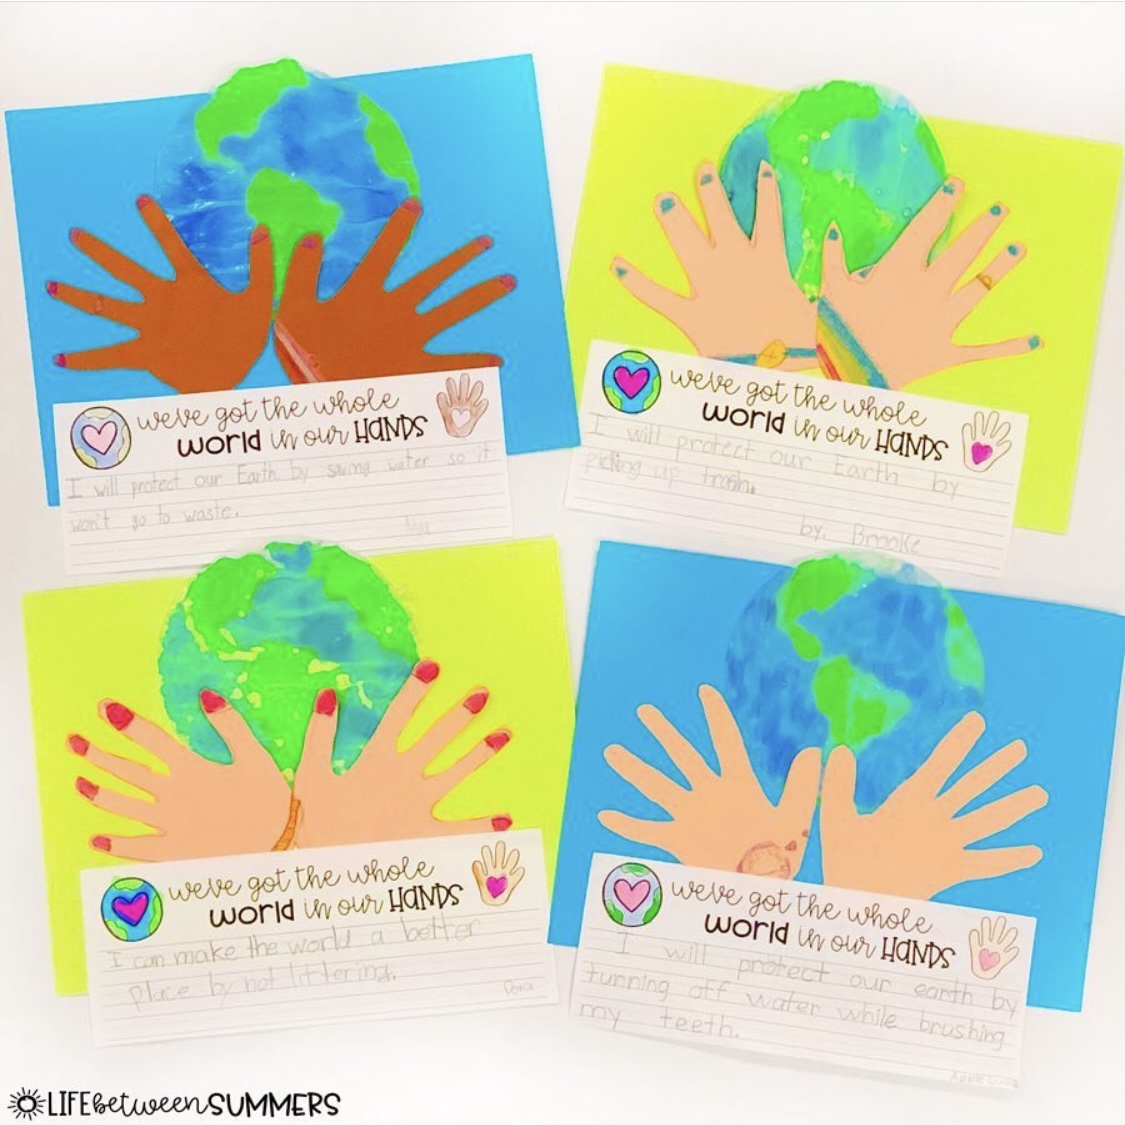
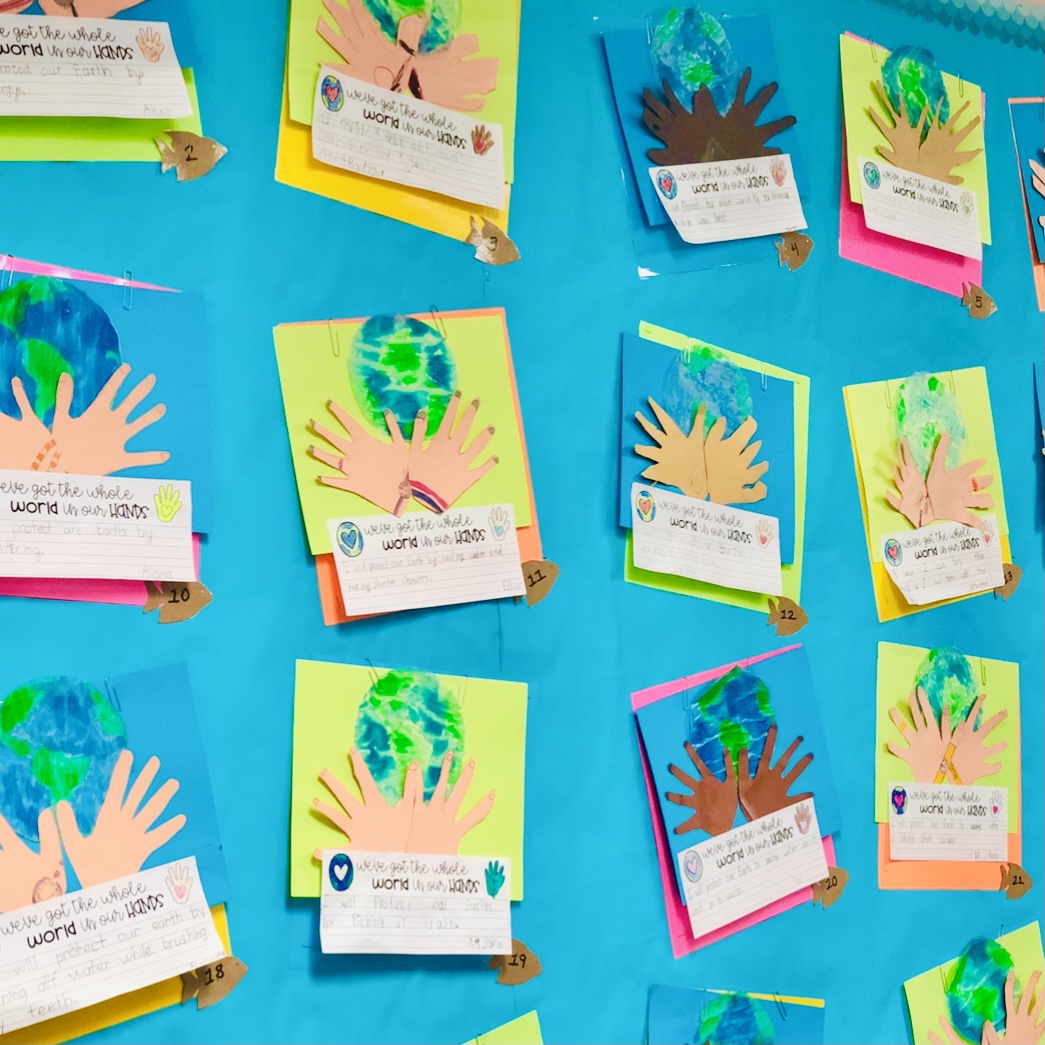
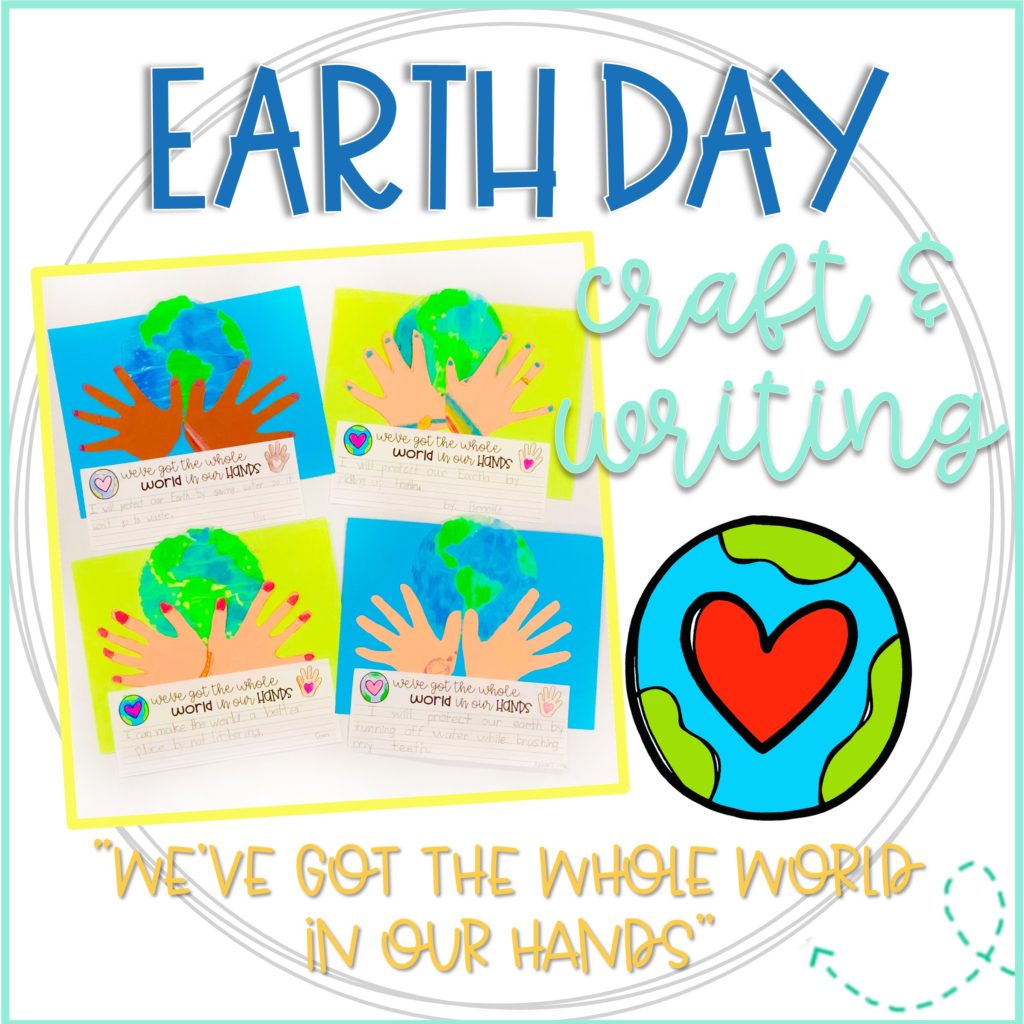
The next step is to glue the painted wax paper Earths onto construction paper with the cutout student hands and display it with their writing.
And, ta da! You’ve got yourself some beautiful Earth Day writing crafts!
You can get the Earth Day templates and writing paper right here in my shop on my website, and they’re also in my TPT store.
Sometimes it feels as though teachers have the whole world on their shoulders rather than in their hands, but hopefully you’ll find this to be a nice, light activity that you and your students can enjoy together this Earth Day!


Leave a Reply
You must be logged in to post a comment.