If you were to get a group of teachers in a room and have them brainstorm some reading comprehension strategies, I’m sure they could rattle off a long list. If they were then asked to prioritize that list in order of importance, a strong case could be made for visualization to be near the top of that list.
Visualizing is so strongly related to memory and understanding, and one could argue that it is foundational for most other comprehension skills. A reader who has the ability to make mental pictures of what they read or hear in a text will have a much better chance of becoming proficient in skills such as summarizing, identifying key details, and even higher level thinking ones, such as making inferences.
It’s easy to forget to explicitly teach this strategy. Visualization seems like one of those automatic things that “just happens” when we read. But that is not always the case, especially for struggling readers. So when kids are taught to make an intentional effort to visualize as they read or listen to a text, the results can be powerful.
The first step is to simply introduce to students what the concept of visualization actually is, and a read aloud is always a good place to start. Amadou’s Zoo is a new book that lends itself nicely to showing what it means to visualize. Through beautiful text and illustrations, kids can see how the main character uses his imagination and makes his own pictures in his mind during a class trip to the zoo.
After helping to define what visualization means, you might choose to use an additional mentor text for students to practice the skill as they read or listen. Here are few children’s books that provide many opportunities for visualizing:
Owl Moon by Jane Yolen
The Relatives Came by Cynthia Rylant
The Snowy Day by Ezra Jack Keats
A Bad Case of Stripes by David Shannon
Come on, Rain! By Karen Hesse
This interactive anchor chart can be used for guided practice with the above titles, or any mentor text/passage that is being utilized to practice visualization.
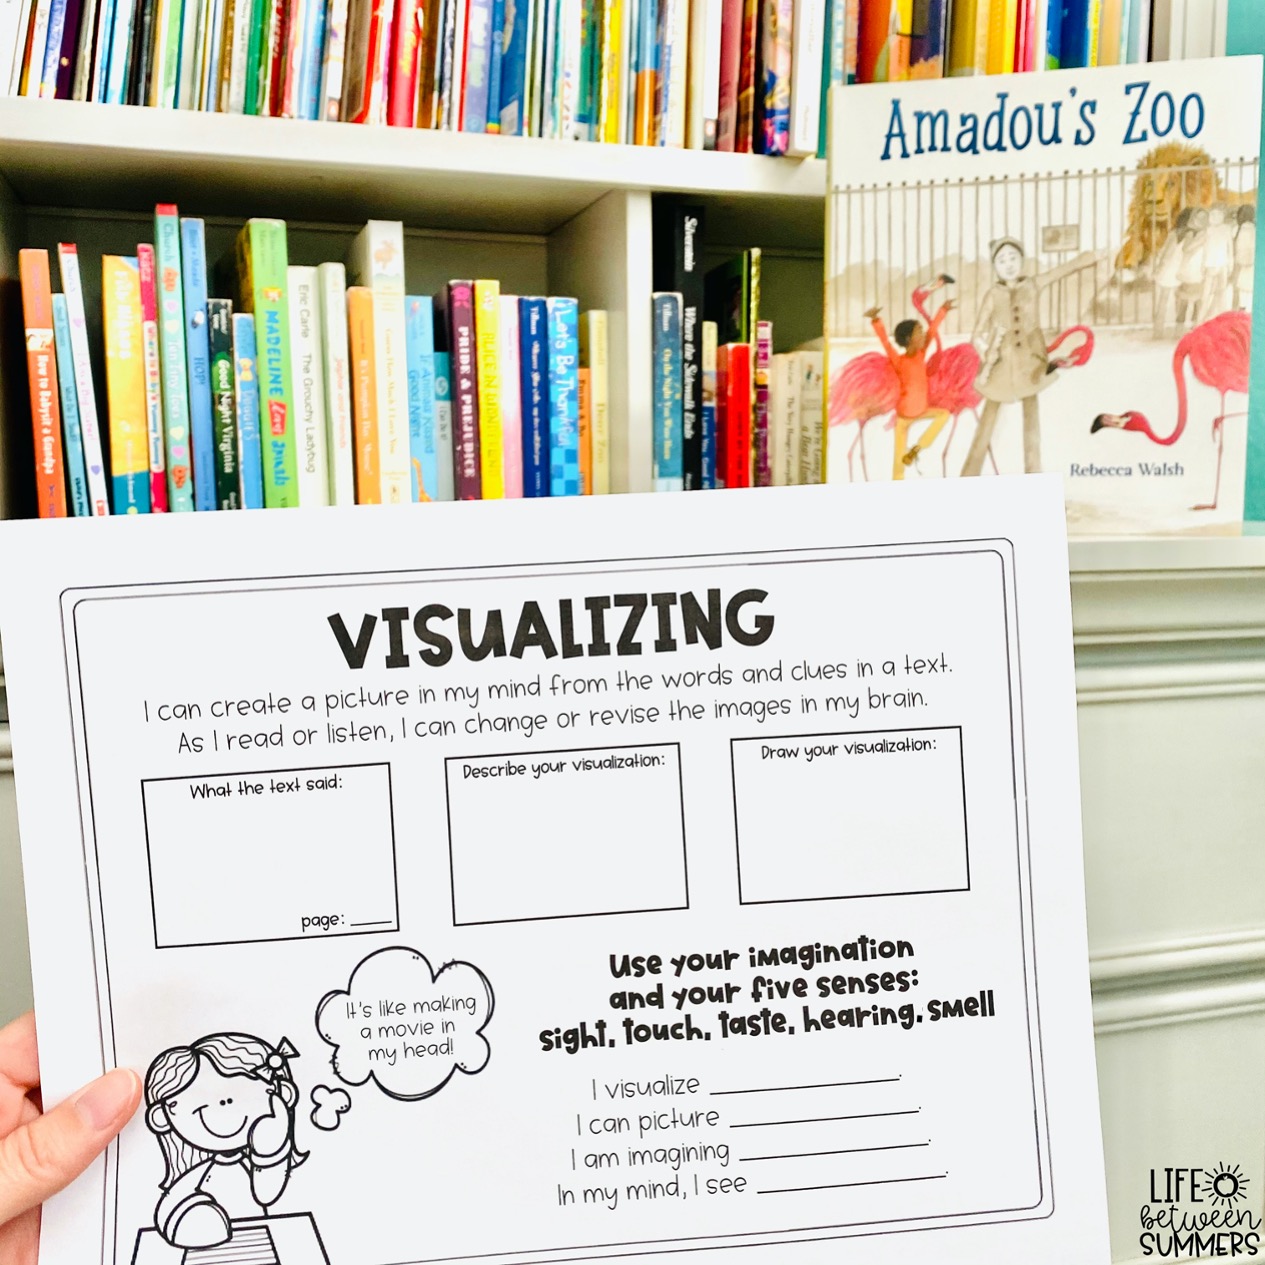
It could be enlarged to poster size, projected onto the white board and traced onto chart paper, or just printed on regular paper to use under a document camera during your lesson.
There is also a Google Slides digital version that can be displayed on a screen in the classroom, or shared on your screen over a video conferencing platform if you’re doing distance learning.

You might choose to print a class set so that the kids can write/draw onto their own paper as you model the strategy. For each of the boxes on the chart:
What the text says: Quote a line from the text and cite the page number.
Describe your visualization: Model how to write a sentence to describe what you visualize in your head based on what was said in the text (you can introduce the sentence starters provided on the chart). Then have students write their own.
Draw your visualization: Model how to draw a quick sketch of what you picture in your head, and then have students illustrate their visualization on their paper.
Provide an opportunity for students to share their visualizations with each other, and have some discussions. Here are some questions you might use to help guide discussion:
- Was your visualization the same or different from your classmates?
- Is it possible for people to have a similar visualization? Why or why not?
- Why might people visualize the same text differently?
- Is it okay if your visualization changes as you share with others, or as you keep reading?
- Did your visualization change at all after we shared with each other? If so, how did it change?
- Why is it important for readers to visualize?
- How does visualization help you better understand the text?
And if you’re using a picture book for this lesson, here’s a little twist you might choose to do…read it twice! The first time you read it, don’t show the kids the illustrations. Have them practice making their own mental pictures in their heads. After doing the guided practice and discussions, then go back and read the story again, this time showing the illustrations. The kids may get a kick out of how the author’s pictures were similar or different to what they visualized, which in turn can help this whole concept of visualization to “stick” in their brain.
After your initial lesson on visualizing, this additional graphic organizer could be used for further guided practice or independent practice. When paired with a text or reading passages, it would be ideal as a literacy center.

If you’re planning to teach the visualization strategy and would like printable and digital copies of the anchor chart and graphic organizer, they are available here in my shop and also on Teachers Pay Teachers.
Hopefully you’ve found a few helpful ideas here that you can easily implement! I am visualizing a class full of engaged students using this powerful strategy to improve their reading comprehension. Can you picture it?